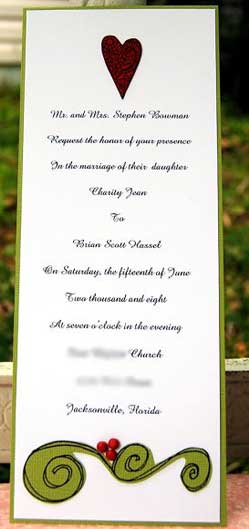


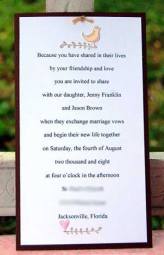
Layered Do It Yourself Wedding Invitations
These invitations are very popular for the DIY Bride and are great to make for several reasons.
-
 No tricky cuts or folds, straight lines all the way.
 - Use a simple glue stick, tape or glue dots stick the layers together. You might choose to secure the layers with a brad, pin charm, ribbon or maybe a heart shaped clip (similar to an office paper clip but they come in interesting shapes) Vellum is the exception and is best stuck down with a spray adhesive.
- Economical. You can get 3 invitations from each A4 sheet of card or paper.
- The slim design fits into a DL envelope.
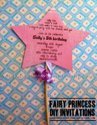
- Simple to embellish with a nice accent near the top of the invitation. paper/silk flower, a seal, ribbon, charm, skeleton leaf. A belly wrap can be made with coordinating paper.
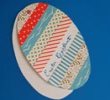
- Readily available in Wedding Invitation stores and they often have a large range of designs and colors. Some department stores carry a small range of papers. You can shop around and mix and match your papers to suit.
Lets Make It!
You will need:
- 3 different papers including one thick cardstock for the base
- 12" paper trimmer (will make your life so much easier - borrow from work or a friend or purchase a cheap one from scrapbook section of department store)
- Adhesive - double sided tape, glue stick
- Pencil, computer and word processing program, printer
Step 1.
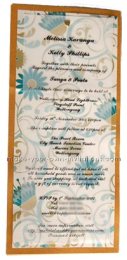
Start with your top layer which will have the text. This layer will measure approximately 3¼" x 7¾". Change your invitation wording as required to fit within the boundary. You will be able to fit 3 invitations on to one A4 sheet of paper.
Step 2.
Proof read your wording a couple of times (and make sure you ask a few other people to proof read it as well) then print a test run. Make a mock up invitation to ensure the text and papers align properly. When you are happy with your wording and format then you can print the rest of your invitations.
Step 3.
Cut the middle layer to size. Approx 3½"x8". Again you will get three pieces from the one sheet of A4 paper. This layer can be paper of any design and thickness.
Step 4.
Cut the bottom layer from firm coordinating card stock. If you use paper you will end up with a flimsy invitation of less than ideal quality. The bottom layer should measure 3¾" x 8¼".
Note.
If the size of your papers are different from the sizes used in this tutorial then simply adjust the cutting measurements to suit. I have used a 1/8th border for each layer.
Assembly
Adhere the middle paper to the center of the cardstock backing. You can use a glue stick but I prefer to use double sided tape or glue dots.
Repeat for the top layer using appropriate adhesive.
Assembly with a Brad
On the top layer use a pencil to mark a point a ¼" down from the top and 1 5/8" from the side. Align the three layers on top of each other and pierce a hole (use a paper piercing tool or a skewer) through each layer.
Fasten the layers together with a two pronged brad.
For a tidier look you can secure the top two layers with a brad first and then adhere to the backing layer with tape or glue. This will hide the back of the brad nicely.