
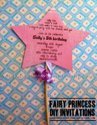


How to make Photo Invitations
This tutorial will show you how to make a basic photo invite with Adobe Photoshop. The main idea is to take a photo of the guest or guests of honor and turn it into a fabulous unique invitation. Printing them out at a photo lab will save you money as you can often print photos for less than 18c per picture. That is a real bargain.

Step 1.
Search through your stash of current photographs for a decent picture or grab your camera and the subject and quickly take a few snaps. With a bit of planning this exercise will only take up an hour or two of your time.
For a more creative approach why don't you take a photo of the Guest of honor (GOH) at one of their favorite spots or participating in a favorite exercise. The park, the coffee shop, playing football, dancing...you get the picture.
Ensure you take your photo at the highest resolution to ensure we will have a good quality photo to print at the end.
Step 2.
Create a new document in photoshop called "INVITE" with the following parameters.
width: 6" (assuming you want a 6x4
photo change accordingly for a 5x7 print)
height 4"
resolution 300
leave the rest as default
Step 3.
Create a background color for your invitation. Make a new layer and name it
'background color'
Click on New fill or adjustment layer > Solid color then
select a color for your background. We can easily change this color later so
you don't need to be too picky at the moment. To change the color you simply
click on the colored square to the left of the layer and pick a new color.
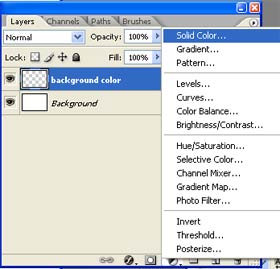
The new fill tool is located at the bottom or
the layers tab
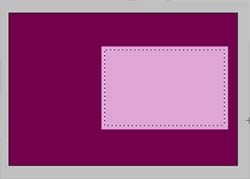
Step 4.
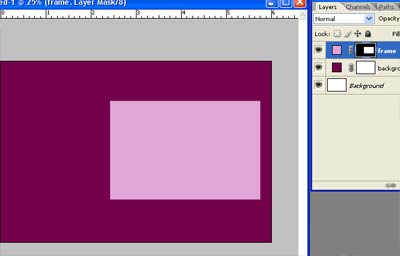
Make a frame for the photo.
Create a new layer and name it 'Frame' With the
Rectangular Marquee tool (also known as the marching ants tool) Create
a frame to the right of your invite. Leave enough room on the left for the
invitation details.
When you have the size right select New fill or adjustment layer > Solid color again and pick a color for your frame.
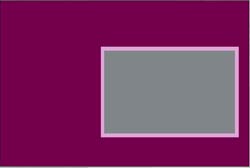
Step 5.
Make a mask for your photo.
Create a new layer and name it 'Photo Mask' This time with
the Rectangular Marquee tool (also known as the marching ants
tool) Create a slightly smaller frame within the previous frame keeping the
borders even.
When you have the size right select New fill or adjustment layer > Solid color again and pick grey color for your frame (the color does not matter so i picked a neutral gray)
 -->
-->
Step 6.
Open the photo you wish to use for your invite and click and drag the photo in to our INVITE document placing it above the Photo Mask layer. Name this layer 'Photo'.
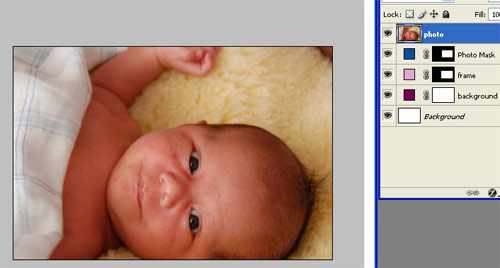
Right Click the Photo layer and select Create clipping mask. Resize the photo layer (ctrl t) and position it so that it sits nicely within the frame.
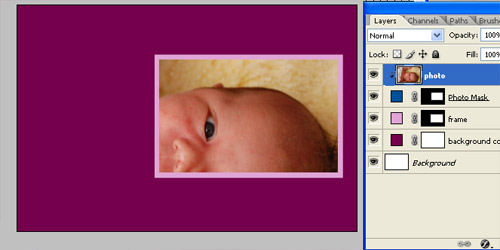
Step 7.
Write your invitation details in the free space to the right with the Text tool. Add any special touches.

Step 8.
When you are happy with your photo invitation save it as a JPEG file format and it is ready to print at your local photo lab or at an online store like vistaprint
Vistaprint.com bargain:
Related Links
Photo birthday invitations
Wedding photo invitations
Photo Save the dates